Beginner’s Guide to Knitting: Scarves and Hats
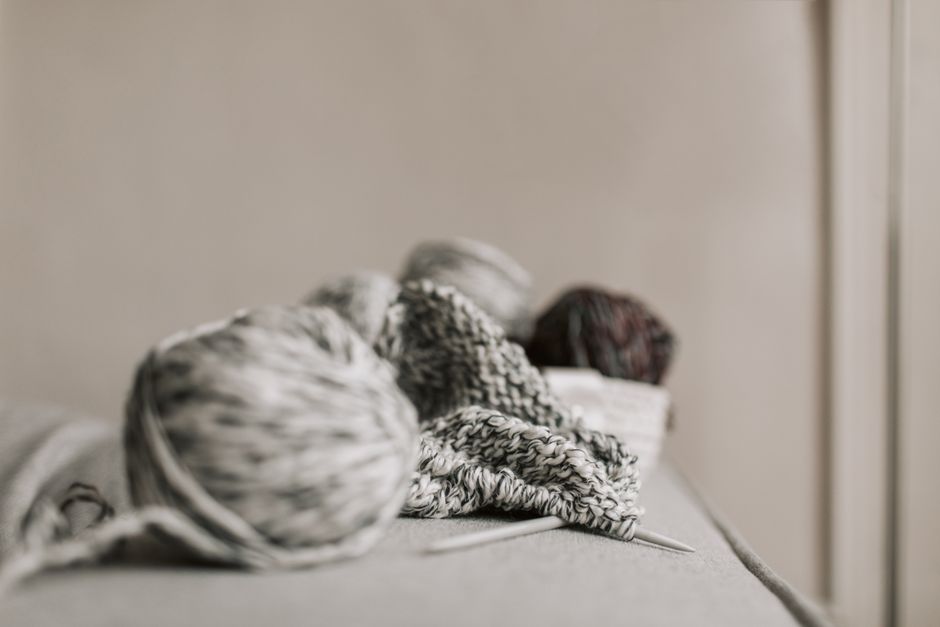
Knitting is a craft that transforms yarn into fabric through a series of interconnected loops. For those new to the activity, starting with simple projects like scarves and hats offers a practical way to learn foundational skills without becoming overwhelmed. This guide outlines a step-by-step approach to casting on, forming basic stitches, and completing these projects, while also addressing yarn selection and common challenges. The focus is on process and technique, providing a transparent framework that can be adapted to individual preferences and learning paces.
Understanding the tools and materials is the first step. Knitting requires needles, yarn, and a few accessories such as stitch markers and a tapestry needle. The choice of yarn and needle size can influence the fabric’s appearance and the project’s difficulty. By exploring these elements and practicing core techniques, beginners can build confidence and develop a reliable method for creating wearable items. This article presents information in a neutral, informational manner, emphasizing methodology over specific outcomes.
Choosing Yarn and Needles for Beginners
Selecting appropriate yarn and needles can simplify the learning process. Yarn weight, fiber content, and color all play a role in how a project feels and behaves. For beginners, smooth, light-colored yarn in a medium weight (such as worsted or aran) is often recommended because it is easier to see stitches and manipulate. Fiber choice matters: wool is elastic and forgiving, while cotton is less stretchy but durable. Synthetic blends can be cost-effective and machine washable, which may be practical for items like hats and scarves that require frequent cleaning. It is important to check the yarn label for recommended needle size and gauge information, as this provides a starting point.
Needles come in various materials—wood, metal, plastic—and styles, including straight, circular, and double-pointed. For scarves, straight needles in a size suitable for the chosen yarn work well. For hats, circular needles or a set of double-pointed needles are typically used to knit in the round. The needle size affects the fabric’s density: larger needles create looser stitches, while smaller needles produce a tighter fabric. Beginners might find wooden needles helpful because they provide slight grip, reducing the chance of stitches slipping off. It is advisable to purchase a few different sizes to experiment and determine personal preference. Ultimately, the combination of yarn and needles should align with the project’s goals and the knitter’s comfort.
Casting On: Starting the First Row
Casting on is the foundation of any knitting project. It creates the initial loops that will be worked into the first row. There are multiple cast-on methods, but the long-tail cast-on is versatile and commonly taught to beginners. To begin, measure a length of yarn about three times the desired width of the project and make a slip knot. Place the slip knot on one needle and tighten it gently. The long-tail cast-on involves using both the tail and the working yarn to form loops around the needle. This method produces a neat, elastic edge that suits scarves and hats.
Another accessible method is the backward loop cast-on, which is simpler but less elastic. It is created by looping the working yarn around the thumb and sliding it onto the needle. While quick, it may be more challenging to knit into the first row. The knitted cast-on is another option; it involves knitting into the first stitch and transferring it back to the left needle. Each method has advantages and disadvantages, and beginners may try a few to see which feels most comfortable. The key is to cast on the required number of stitches without twisting them, ensuring they are evenly spaced on the needle. Practice casting on multiple times to build muscle memory and consistency.
Basic Stitches: Knit and Purl
The knit and purl stitches form the basis of nearly all knitting patterns. The knit stitch creates a smooth, V-shaped texture, while the purl stitch produces a bumpy, wavy surface. Mastering these two stitches allows for a variety of fabrics, including garter stitch (all knit stitches) and stockinette stitch (alternating knit and purl rows). To make a knit stitch, insert the right needle into the front of the first stitch on the left needle, wrap the working yarn around the right needle, and pull it through to create a new loop. Slide the old stitch off the left needle. The purl stitch is essentially the reverse: insert the right needle into the front of the stitch from right to left, wrap the yarn around the needle, and pull it through, then slide the old stitch off.
For a scarf, garter stitch is an excellent choice because it lies flat and is reversible. It is created by knitting every row. For a hat, stockinette stitch is common for the body, often combined with ribbing (knit and purl columns) for the brim to provide stretch. Beginners should practice these stitches on a small swatch until they can form them evenly and recognize how they look. Tension—how tightly or loosely the yarn is held—affects stitch size, so consistent tension is a goal. It is normal for initial attempts to be uneven; with repetition, the motions become more fluid. Remember to count stitches periodically to catch accidental increases or decreases.
Finishing Techniques: Binding Off and Seaming
Binding off (also called casting off) secures the last row of stitches so the fabric does not unravel. The standard bind-off involves knitting two stitches, then lifting the first stitch over the second and off the needle, repeating across the row. This creates a finished edge that matches the cast-on in elasticity. For a stretchier edge, a larger needle or a stretchy bind-off method can be used. After binding off, cut the yarn, leaving a tail to weave in. It is important to leave a sufficient tail for seaming if the project requires it, such as when joining hat pieces or adding a seam to a scarf.
Weaving in ends hides the yarn tails and gives a polished look. Use a tapestry needle to thread the tail through several stitches on the wrong side of the fabric. For hats knit in the round, the top is often closed by threading the tail through the remaining stitches and pulling tight. Seaming, if needed, can be done with a mattress stitch for an invisible join on stockinette fabric. Blocking, which involves wetting or steaming the finished item and shaping it to dry, can even out stitches and improve appearance, though it is optional for some yarns. Each finishing step contributes to the durability and aesthetics of the project, and beginners should practice these techniques on swatches before applying them to a final piece.
Troubleshooting Common Issues
Beginners often encounter issues such as dropped stitches, uneven tension, or accidental yarn overs. Dropped stitches occur when a loop falls off the needle; this can be fixed by using a crochet hook to catch the loop and work it back up. Uneven tension may result in loose or tight areas; practicing relaxation and consistent hand position can help. Accidental yarn overs create extra stitches and holes; they can be corrected by removing the extra loop. It is also common to lose track of the pattern; using stitch markers and a row counter can mitigate this. If the stitch count is off, counting stitches at the end of each row can identify errors early.
Another frequent challenge is running out of yarn mid-project. To avoid this, estimate yarn requirements based on the pattern and purchase extra. If joining a new ball, leave a long tail and weave it in later. For hats that turn out too large or small, gauge swatching is essential—it ensures the finished size matches the intended measurements. If a project becomes frustrating, setting it aside and returning later with fresh eyes can be beneficial. Remember that knitting is a skill built over time, and mistakes are opportunities to learn. Creative Canvas encourages a patient, exploratory approach to the craft, focusing on the process rather than perfection.